Many product development engineers struggle with determining the wattage needed in a heater in order to obtain the desired thermal result of their product design. They often have a good understanding of what they require their product to do (warm a plate to certain temperature in a certain amount of time, for instance), but translating that into a specific wattage in a flexible heater is more difficult.
The engineer can attempt to roughly calculate, and possibly even digitally simulate, the thermal requirements. However, usually the engineer that is responsible for the overall package design isn’t routinely conducting thermal analysis and thermal engineering so this area isn’t in the comfort zone for the engineer. The engineer can also utilize the TurboFlex’s Wattage Estimation Tool to help zero in on the wattage needed in the heater.
But one of the easiest and most accurate approaches is to conduct some basic thermal testing using actual components in order to gain confidence in the heater wattage.
Details
A common application for a flexible heater is to warm a mounting surface, such as an aluminum plate. To perform the basic testing to get started, the engineer should obtain the following:
- The plate (or an actual unit desired to heat) or something with an equivalent mass.
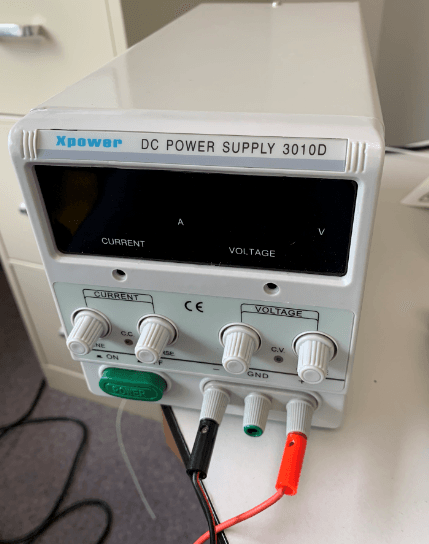
- A variable DC power supply that is capable of at least 10 amps and can deliver up to 24 volts DC. An example is this XPower 301D model.
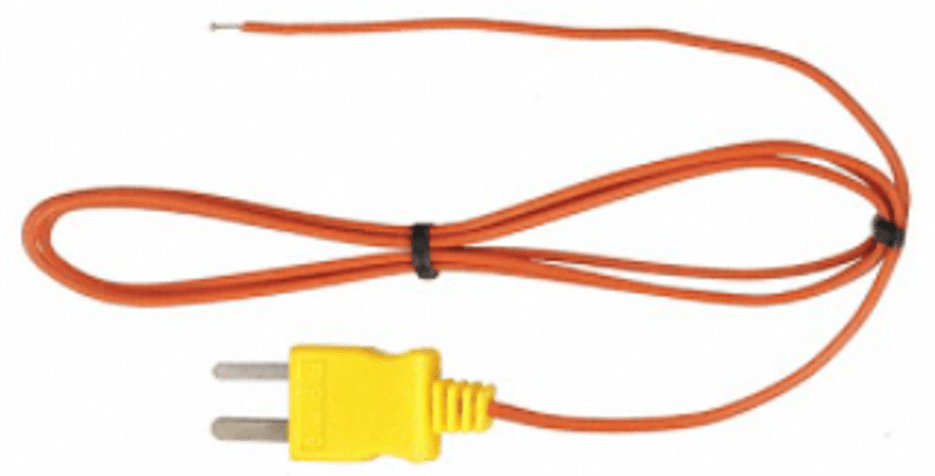
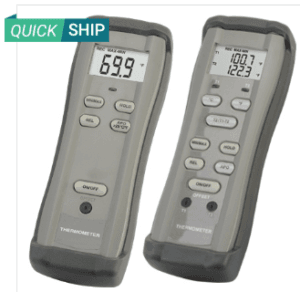
3. Thermal couple(s) and a Digital Thermometer.
4. Several flexible heaters of a size similar to what is needed to mate with the mounting plate. There are a variety of standard heater sizes available that may be suitable. Plan to purchase 2-3 heaters to have back-ups and testing.
However, you need to purchase a heater with a specific wattage because that is how the heaters are identified. The wattage rating of the heater will be stated against a defined voltage by the manufacturer. For instance, a 100-watt heater would be specified in conjunction with a defined voltage, such as ‘12 volts.
It’s probable that a standard heater with the desired wattage is available in the preferred shape/size, but the rated voltage for that heater will be different than what is planned to be utilized in the product design. This will not be an issue, provided the voltage is somewhat in the middle of the DC power supply range.
For example, a predicted target heater may be an 8” X 8” heater operating at 120 volts and delivering around 100 watts. But maybe an 8” X 8” heater with these characteristics is not available. However, a 6” X 6” 100 watt heater rated at 12 volts is available. For this first stage of evaluation, this is fine.
The calculated resistance per Ohms Law of this 6 X 6 heater is 1.44 ohms but heater resistance may not be exact so it would be valuable to verify the actual resistance using an ohm meter.
Note: Flexible heaters can operate in a wide variety of voltages. Just because it states it is a 24-volt heater doesn’t mean it only runs at 24 Volts. It means that if 24 volts is applied to this heater, it will deliver the rated wattage. But if less or more voltage is applied, the heater will still operate, but the output wattage will change accordingly. Of course, applying too high of voltage will burn out the heater or it may come apart because it just can’t handle the temperature spike.
Note: A flexible heater will operate on either AC or DC.
Procedure
Identify or determine three things (roughly).
- The coldest temperature the unit will be exposed to during its expected use.
- The desired maximum temperature that the unit is to reach.
- How fast the unit must go from the coldest to the maximum temperature.
Install the heater onto the plate and hook up the unit to the DC power supply. But instead of starting out using the heater at its rating level of 100Watts@12 Volts, start with something less since it is uncertain what is needed for thermal performance. Plan to power it up at 9 Volts for instance. Knowing the resistance of the heater is 1.44, using Ohms Law, this heater will deliver 56.25 Watts (Voltage Squared / Resistance) at 9 volts instead of its 100 Watts at 12 volts.
With the plate at a controlled temperature and with thermocouples mounted onto the plate or device, power up the unit and record what takes place. Record the thermal readings in reasonable time increments and keep doing so until relatively stable temperatures being achieved. This indicates that the power going into the system can no longer heat-up the product above what is being lost.
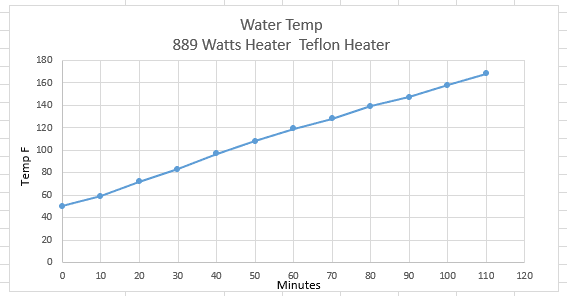
• Determine the peak temperature you desired was reached using the 9 Volts.
• Determine if the plate temperature rose fast enough.
• Plot the datapoints on a graph to establish a thermal rise curve so you can visually see the data.
Now, adjust and repeat this process but increase (or decrease) the voltage to arrive at the desired results. Keep in mind that the goal is to arrive at the defined wattage of the heater. This test is not to implement a specific thermal pattern which likely includes some level of thermal control devices to alter the curve/pattern.
 Ideally, use environmental conditions that replicate the end use of the new product, however that is not necessary.
Perform many variations in voltage and thermal rise curves to confidently identify the wattage the heater needs to deliver to meet the product needs – regardless of the voltage used. For the example above, the testing may have determined that the thermal results were achieved when the 1.66 ohm heater operated 14.5 volts. Using ohms law once again, the result is 146 watts (V2/R).
Note: It is also advisable to push one of the extra heaters to its limits with over voltage levels. Plan to destroy a heater so that this knowledge is plugged into the reservoir of thermal performance in the product design.
Once a wattage level is determined, a custom heater can now be ordered. Specify a 146 Watt heater – but also specify that the heater is to deliver that wattage at the voltage planned for the product, and with the size/shape desired for the product design. In this example, order an 8” X 8” 146W/120 Volt heater.
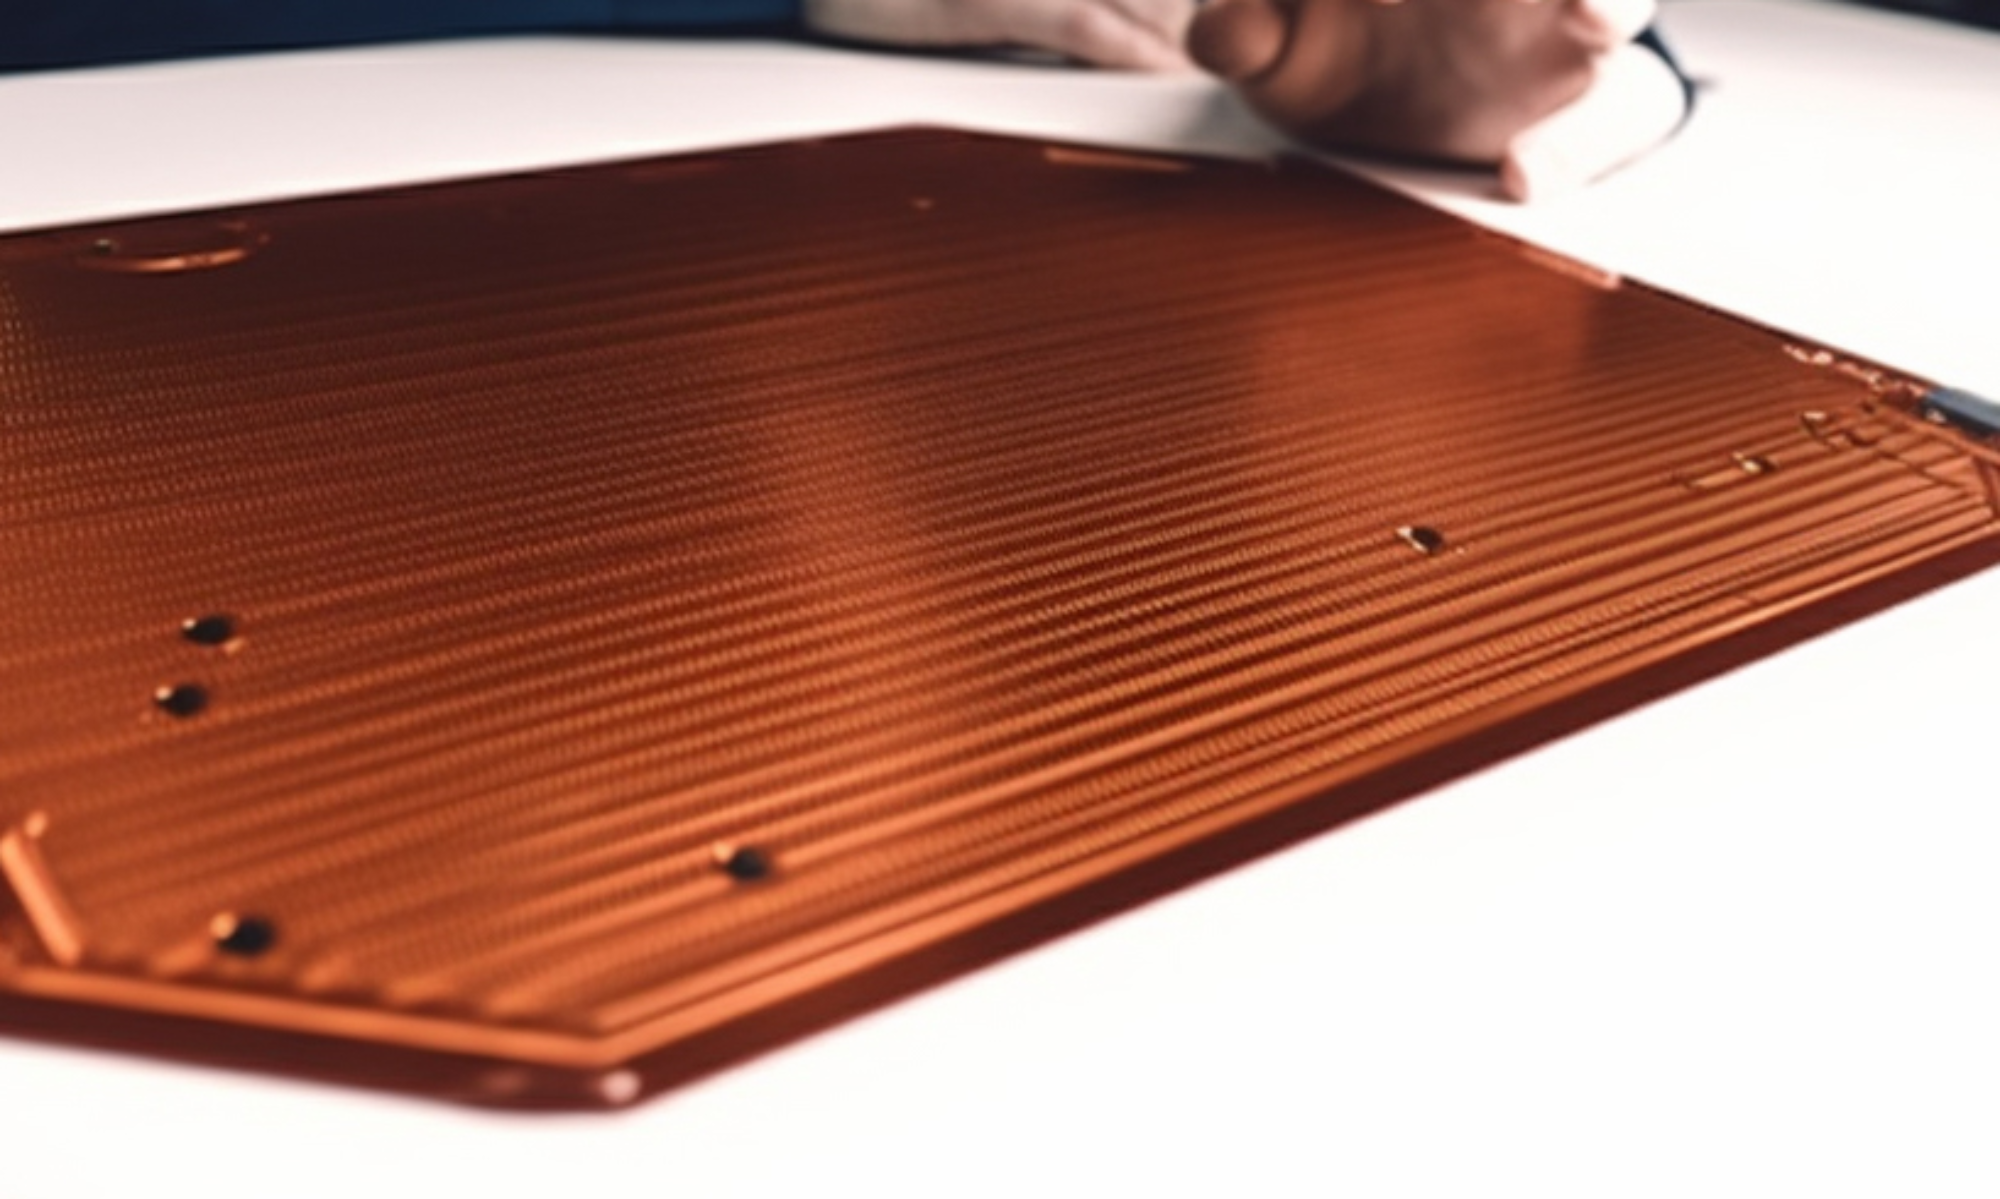
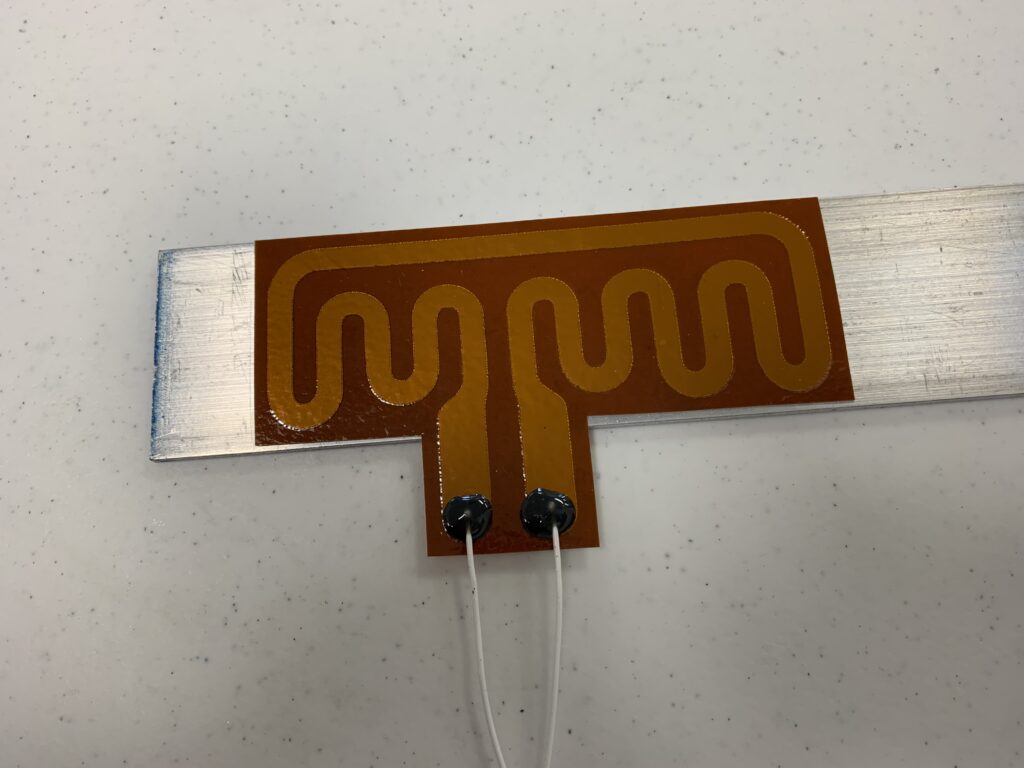
Shown is an example of a 2” X 6” 1.8 ohm test heater mounted onto a 1/8” thick aluminum plate.
Conclusion
This simple procedure enables an engineer to zero-in on the wattage requirement needed for a new product design when the engineer may not have a good understanding of the thermal output a heater will deliver. This approach also allows an engineer to utilize a low cost ‘standard’ heater as a test vehicle without purchasing a high cost, custom heater until the engineer knows exactly what is needed for both size and wattage.